Welcome to our Knowledge Base
-
System Settings
-
- Articles coming soon
-
- Upload Students (Video)
- Upload Students
- Manage Students
- Upload Student Pictures
- User Accounts
- Upload User Accounts
- User Permissions
- Mass Updates
- Manage Family and Guests
- Printer Setup - 3" Thermal (Windows)
- Printer Setup - 3" Thermal (Mac) **Advanced Setup**
- Printer Setup - 3" Thermal Network (Mac) **Advanced Setup**
- Preparing for Next School Year
- Microsoft Single Sign-On (SSO)
-
Store
-
- Articles coming soon
-
- Creating a Transaction
- Scanning a Student ID
- Student Credit
- Student Credit - Credit Refunds
- Product Buttons
- Returns
- Printing Receipts
- Payment Type
- Modify Transaction - Post Sale
- E-mail Receipts
- ProPay: How to Void a Transaction
- ProPay: How to Process Credit Cards
- Reprint Receipt and Resend Receipt by E-mail
- Exporting Ticket Sales from Store to Ticketing for Checkin
- Changing Payment Type After Transaction has Completed
- Portal Purchased Product Pickup and Reports
- Discount Options
- PAX Credit Card Reader Setup
- Show all articles ( 3 ) Collapse Articles
-
- Upload Students (Video)
- Upload Students
- Upload Student Pictures
- Student Type
- Student Spirit Points
- Student Credit
- Upload Student Credit
- Managing Student Credit
- Student Credit - Credit Refunds
- Manage Spirit Points
- Mass Updates
- Discount Options
- Manage Students
- Family and Guest Management
- Manage Family and Guests
-
- Accessing the Open Store Portal
- Accessing the Student Only Store Portal
- Family and Guest Management
- Configure your Portal and Products
- Portal Purchased Product Pickup and Reports
- Manage Family and Guests
- ProPay (Heartland) Merchant Account
- Google Single Sign-On (SSO)
- Family Portal
- Microsoft Single Sign-On (SSO)
-
- User Accounts
- Upload User Accounts
- User Permissions
- Taxes
- Paysafe: PCI Compliance
- Cash Drawer (Connected to Thermal Printer)
- Cash Drawer (USB) Windows 10
- Product History (Link on Current Transaction)
- Product Agreement
- Accessing the Student Only Store Portal
- Configure your Portal and Products
- Portal Purchased Product Pickup and Reports
- My Account
- SFTP Automated Student Rosters
- Accessing the Open Store Portal
- ProPay (Heartland) Merchant Account
- School Logo
- PAX Credit Card Reader Setup
- Whitelist URL's
- Show all articles ( 4 ) Collapse Articles
-
- System Settings Getting Started (Video)
- User Accounts
- User Permissions
- Upload User Accounts
- Upload Student Pictures
- Remote Support
- Mass Updates
- ProPay (Heartland) Merchant Account
- School Logo
- Google Single Sign-On (SSO)
- PAX Credit Card Reader Setup
- Preparing for Next School Year
- Microsoft Single Sign-On (SSO)
-
Voting
-
- Adding an Election
- Adding Officer Positions
- Adding Candidates
- Election Preflight
- Removing Candidates
- Adding Pictures and Biographies
- Archive and Retrieve Old Elections
- Duplicate an Election
- Using Video Biographies
- Election Layout Options
- Preview an Election
- Write-in Candidates
- Create a Survey (Video)
-
- User Accounts
- User Permissions
- Upload User Accounts
- Configure the Student Login Page
- Require Student E-mail
- Notifications for Unsuccessful Student Login Attempts
- Hobbies and Biography
- My Account
- Require Change Passwords
- SFTP Automated Student Rosters
- Google Single Sign-On (SSO)
- School Logo
- Whitelist URL's
-
Ticketing
-
Interventions
-
- Articles coming soon
-
- User Accounts
- Upload User Accounts
- User Permissions
- Printer Setup - 3" Thermal (Windows)
- Printer Setup - 3" Thermal (Mac) **Advanced Setup**
- Printer Setup - 3" Thermal Network (Mac) **Advanced Setup**
- Interventions
- Bell Schedules
- My Account
- SFTP Automated Student Rosters
- School Logo
- Mass Updates
- Whitelist URL's
-
Announcements
-
Student / Family Portal
-
Digital ID
Student Portal
Navigating The Student Portal
-
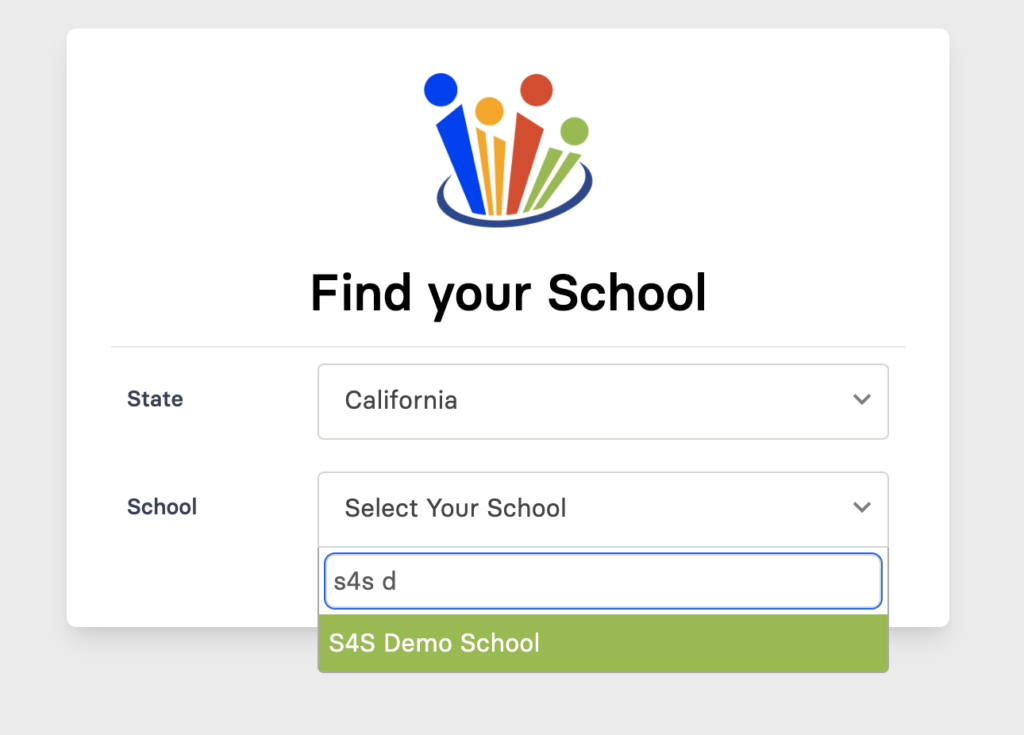
When on the School lookup page, choose your State
-
Then select your school.
To locate your schools student portal, go to student.software4schools.com or if you know your schools student portal URL, you can navigate directly to it with a URL provided by your school. It will be your schools short code in front of software4schools.com. (i.e. SCHOOL.software4schools.com)
-
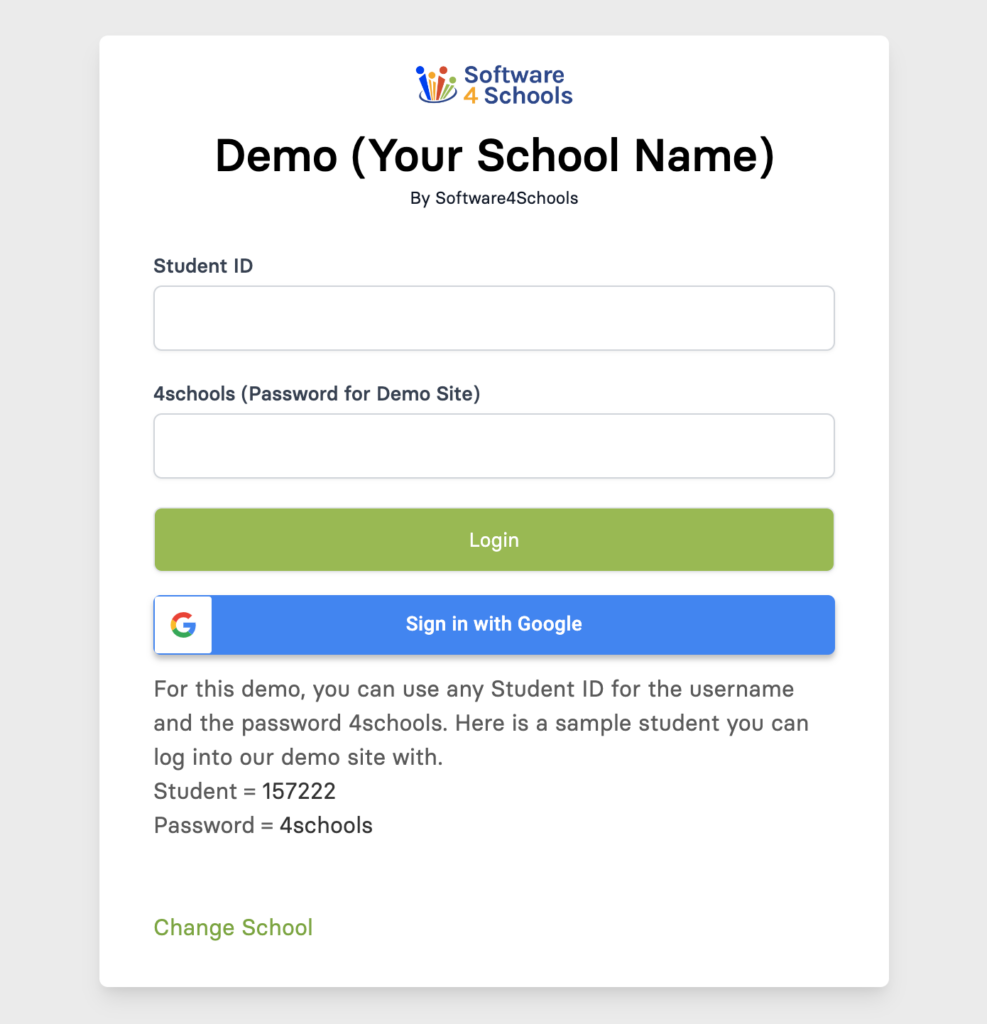
You may see a username and password option.
-
If your school has Single-Sign-On turned on you may also see that along with the username and password or instead of the username and password.
-
If you end up on the wrong school, you can choose Change School to go back to the school selector (seen above)
Your schools login page should have the school name on top, custom labels for how to login and notes to assist with the login.
-
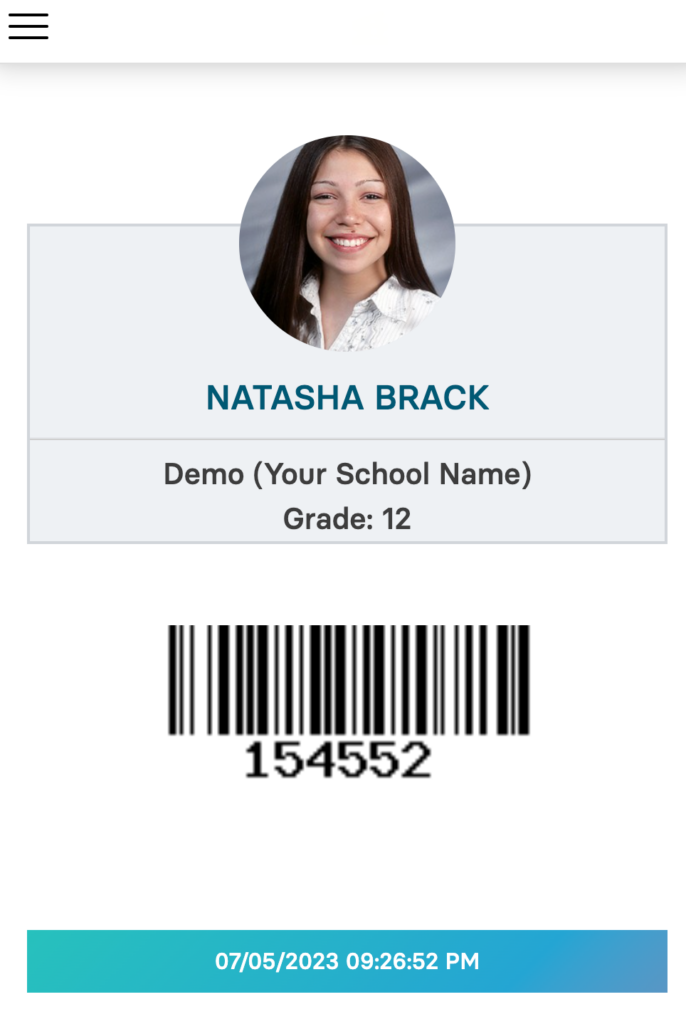
To navigate between modules click the (3 bar hamburger menu)
-
If your school has Digital Student ID turned on the page should show your ID card along with your name and student picture.
-
The scan type may be barcode or QR code based on the school setup.
-
The footer will display a digital clock with seconds that rotates colors.
Once logged in you may see different options based on what tools are enabled in your platform.
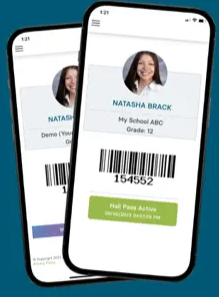
Mobile App
Android App https://play.google.com/store/apps/details?id=and.dev.Connect (Search S4S Connect)
iPhone App https://apps.apple.com/app/s4s-connect/id6450269779 (Search S4S Connect)
-
Download the app from the Apple or Android Store