Welcome to our Knowledge Base
Printer Setup – 3″ Thermal Network (Mac) **Advanced Setup**
-
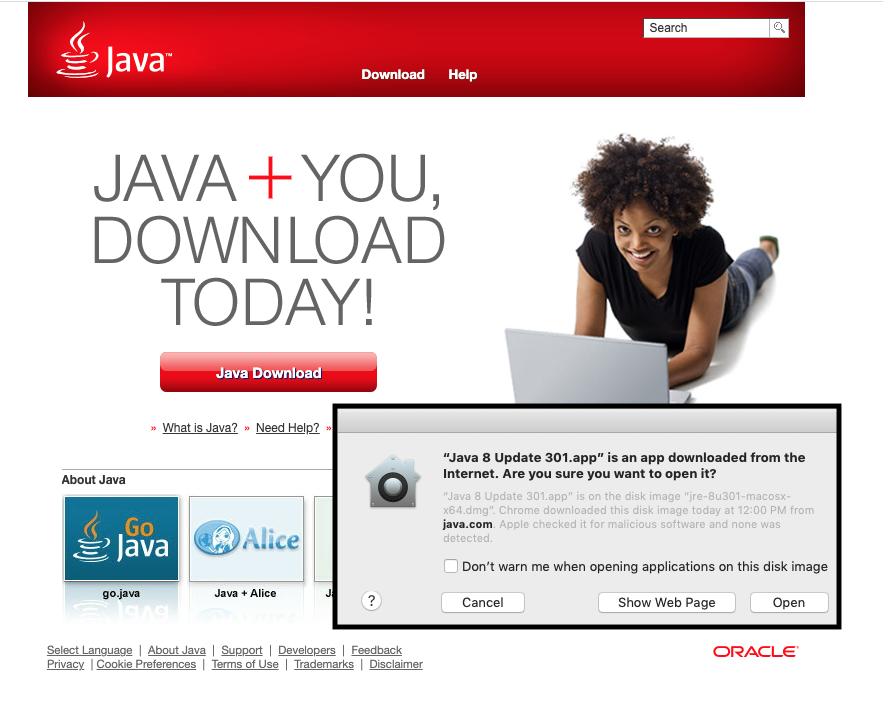
Visit www.java.com/en to install the latest version of Java.
-
Follow the prompts and install.
You need to have the latest version of Java installed on your Mac.
-
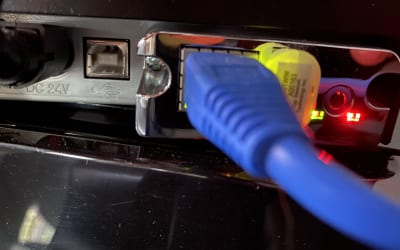
On the back of your printer there is a small black button to the right of the network cable. Click that button and a piece of paper will come out with your printer IP address on it. You will need this IP address when adding your printer.
To find the printer IP address of your printer, plug in the power cable and plug it into your school network.
-
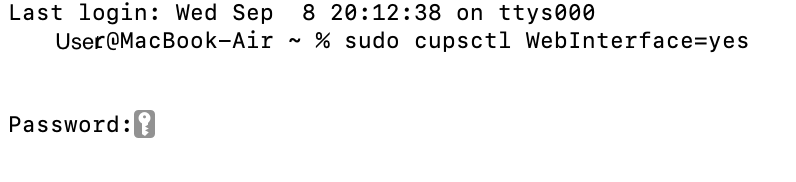
To enable CUPS web interface, copy the code below and paste it into the terminal window:
sudo cupsctl WebInterface=yes
-
Click Enter and then type in your computer password. The password key Icon will disappear and your computer name will show up with ~ %. You can then close this Terminal window as it is not needed anymore.
Open a Terminal window: To do this click (Command) ⌘ + space bar. Type in “Terminal” and click enter.
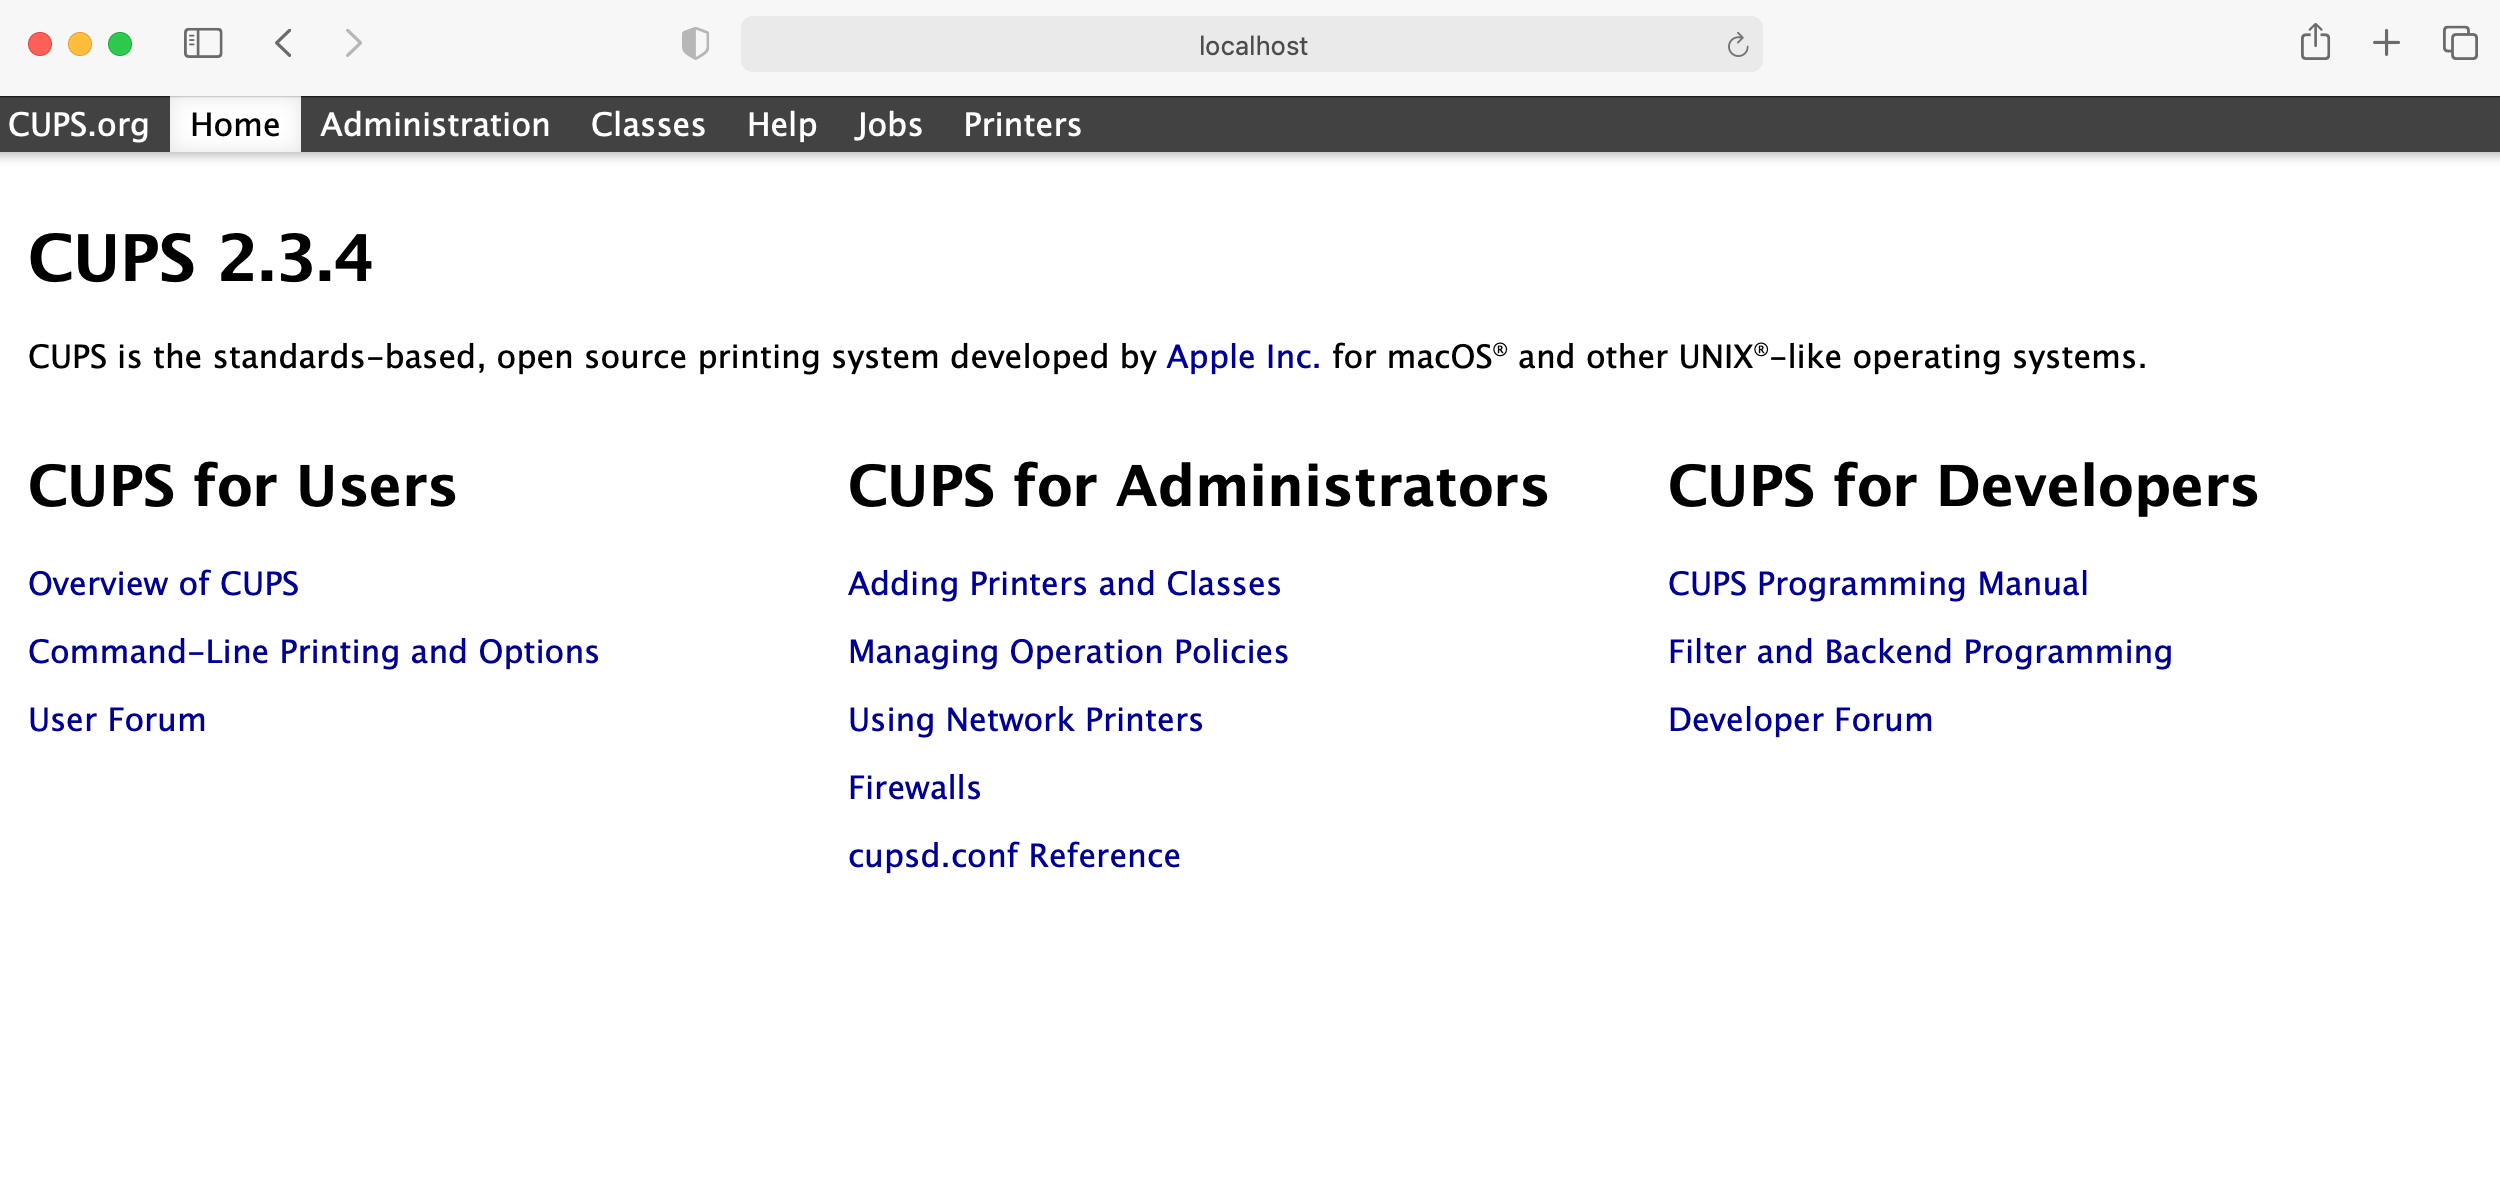
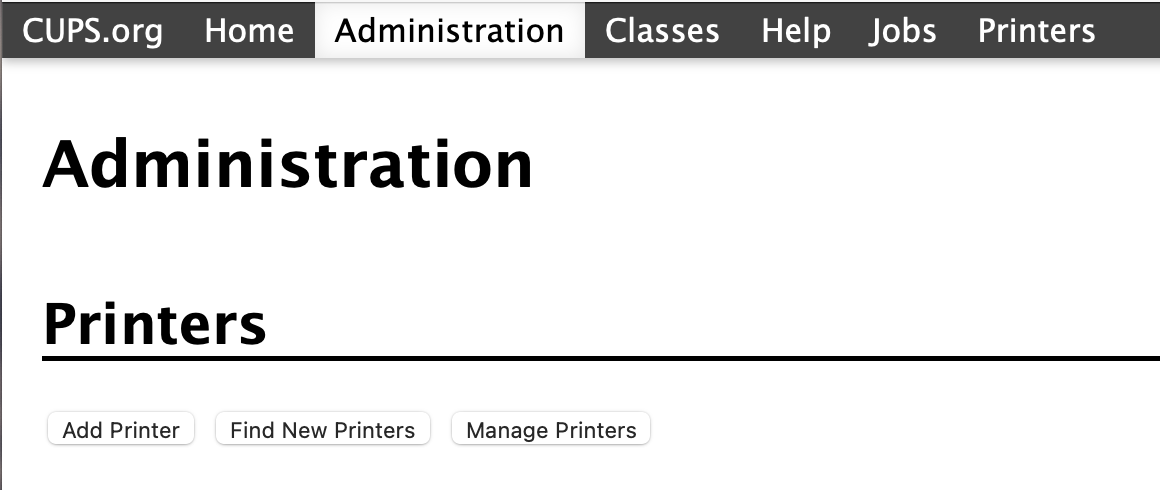
Click on the Administration tab.
Click on the Add Printer button.
You will then be prompted for your computer username and password. The username needs to be an exact match. You can find it in your Mac System Preferences under Users.

-
Select LPD/LPR Host or Printer which is found under Other Network Printers.
Other Network Printers
-
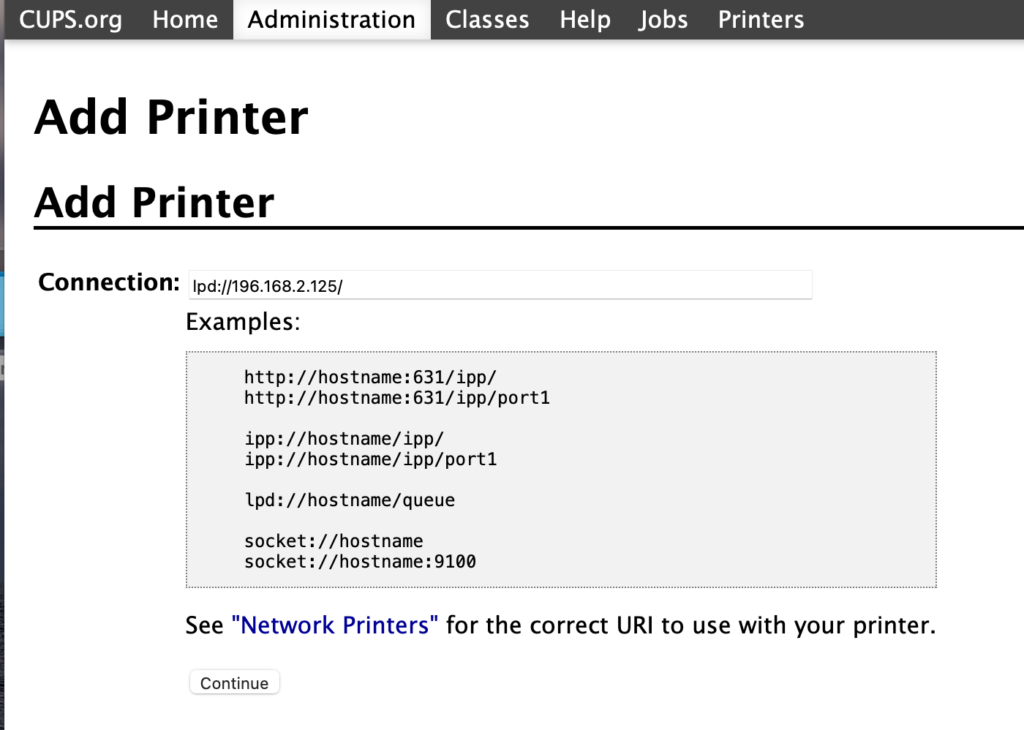
Using your IP address, enter lpd://(your IP address)/
Our example would then be lpd://196.168.2.125/
(Be sure to put a backslash at the end of your IP address)
Using the printout from your printer, find your printer’s IP address. The IP address will look something like this: 196.168.2.125.
-
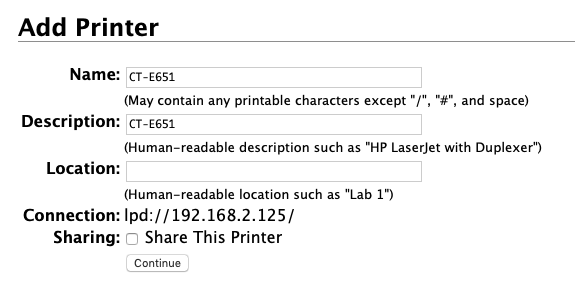
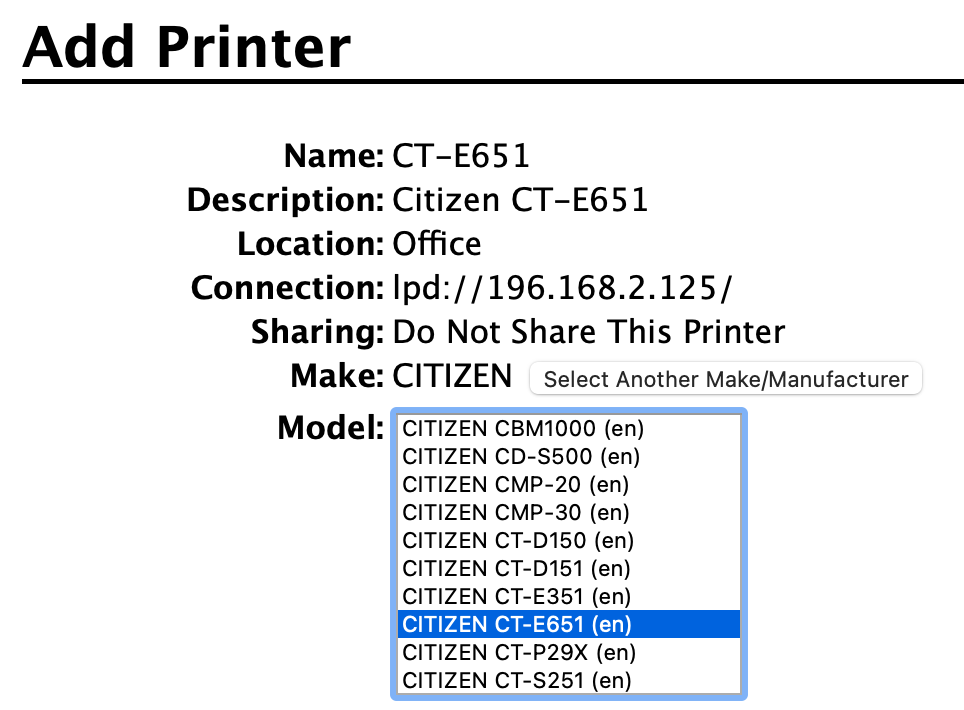
Choose a name for your printer. In this example we are using the CT-E651 printer
-
Choose a description for your printer, this will show up under printers and is the name that will be used in our software when setting up your users.
-
Optional – Choose a location for your printer.
-
Unchecked – If connecting multiple computers to this printer, it is best to connect each one directly to the printer rather than using this share option. (do not check the box)
Add Printer Details
-
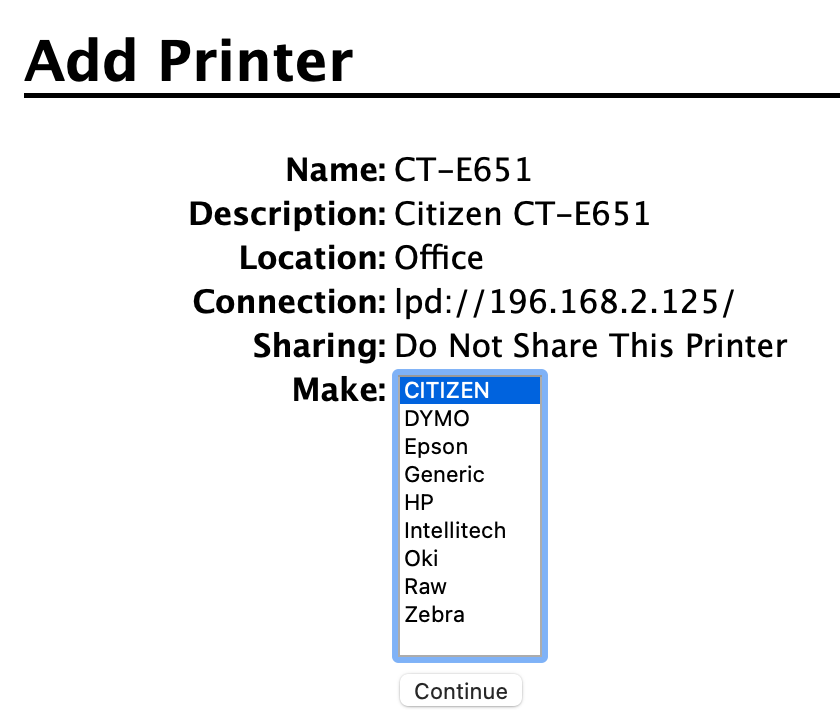
Select Make: Citizen
-
Most common printer types are CT-E351 or CT-E651, please check your printer for your model number and click Add Printer.
Select printer model.
-
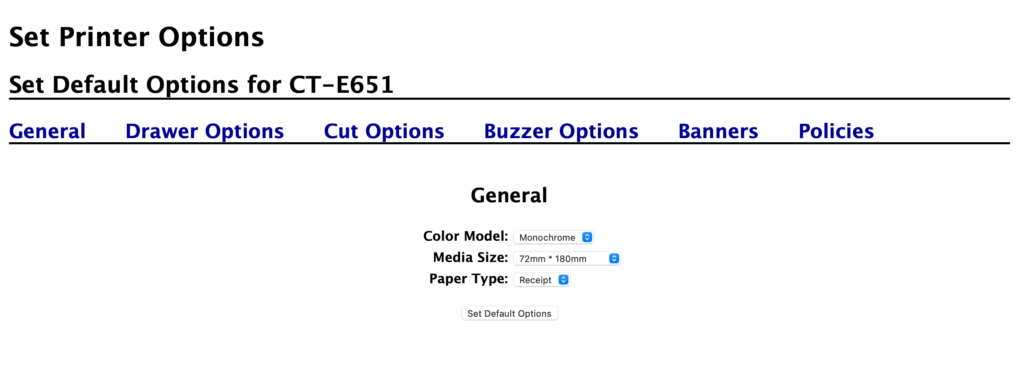
You should not need to make any changes here, just click Set Default Options
Custom Settings
-
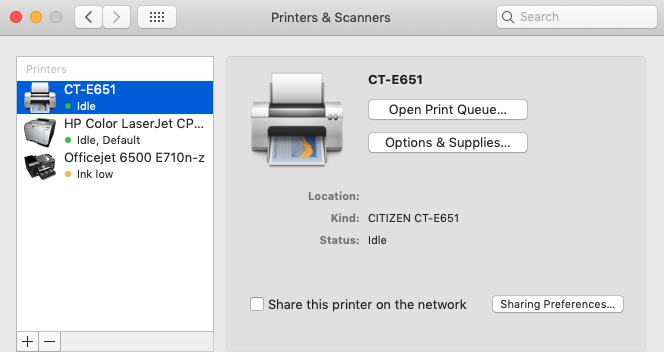
You will now see your printer. This is the printer name that will be used in the next step for setting up users.
-
Click Open Print Queue…
Open up your computer System Settings / Printers & Scanners
-
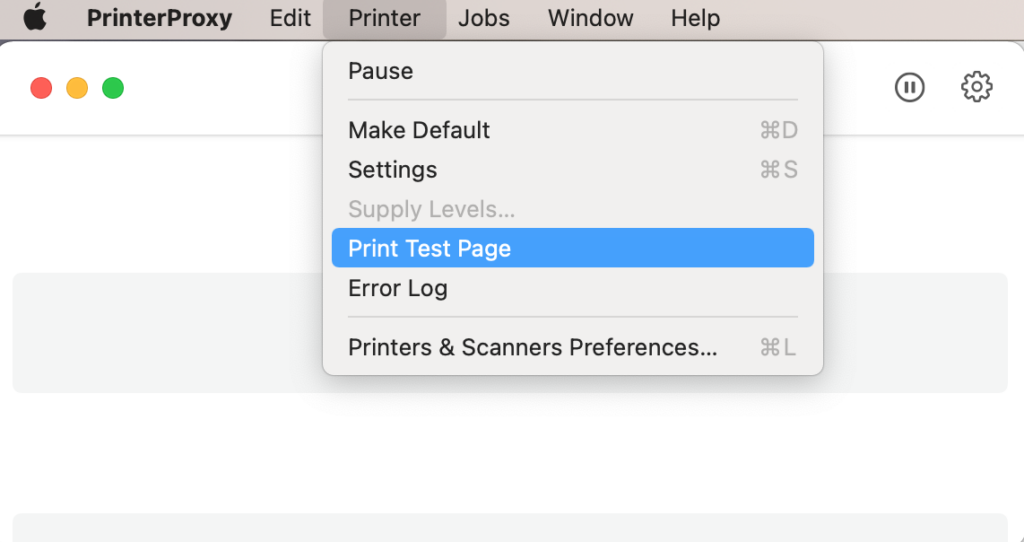
From the top menu click Printer / Print Test Page You will then see your test page print from your thermal printer.
Printer Proxy

-
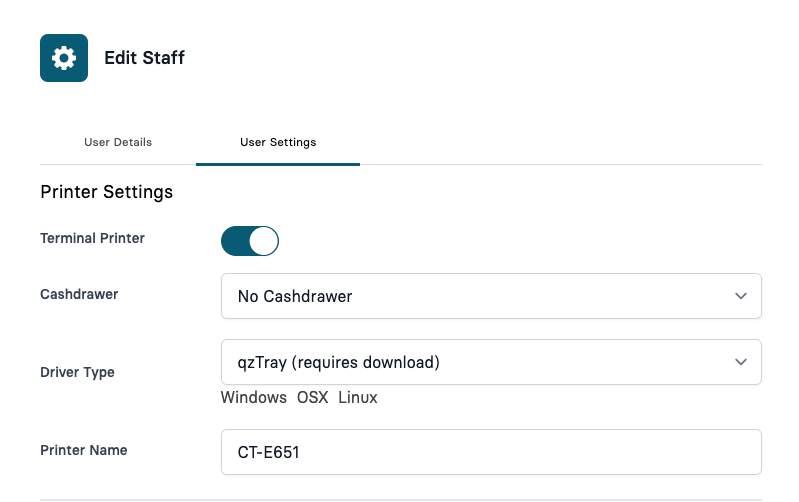
Click Users button available at the top bar.
-
Select the tab for User Settings and at the top will be the printer settings.
-
Turn on the Terminal Printer toggle.
-
If using a cash drawer with your printer choose the option “Cash drawer with thermal printer”. If no cash drawer use the “No Cash Drawer” option.
-
Just below the Driver Type there are three links. Windows, OSX or Linux. You will need to download and install the OSX application as seen in the next steps.
-
Type the name of your printer exactly how you have it in your computer printer settings.
Add a new user or Edit a current user
-
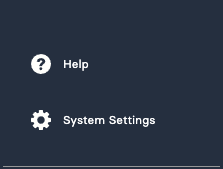
Click on the System Settings button.
To access printer settings you must be the account owner. If you do not see System Settings on the bottom left of your screen please contact your account owner.
-
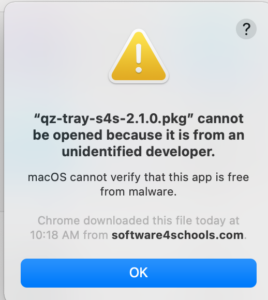
If you receive an alert when trying to install, you will need to go to Mac System Preferences / Security & Privacy
Install the OSX application called QZ-tray.
-
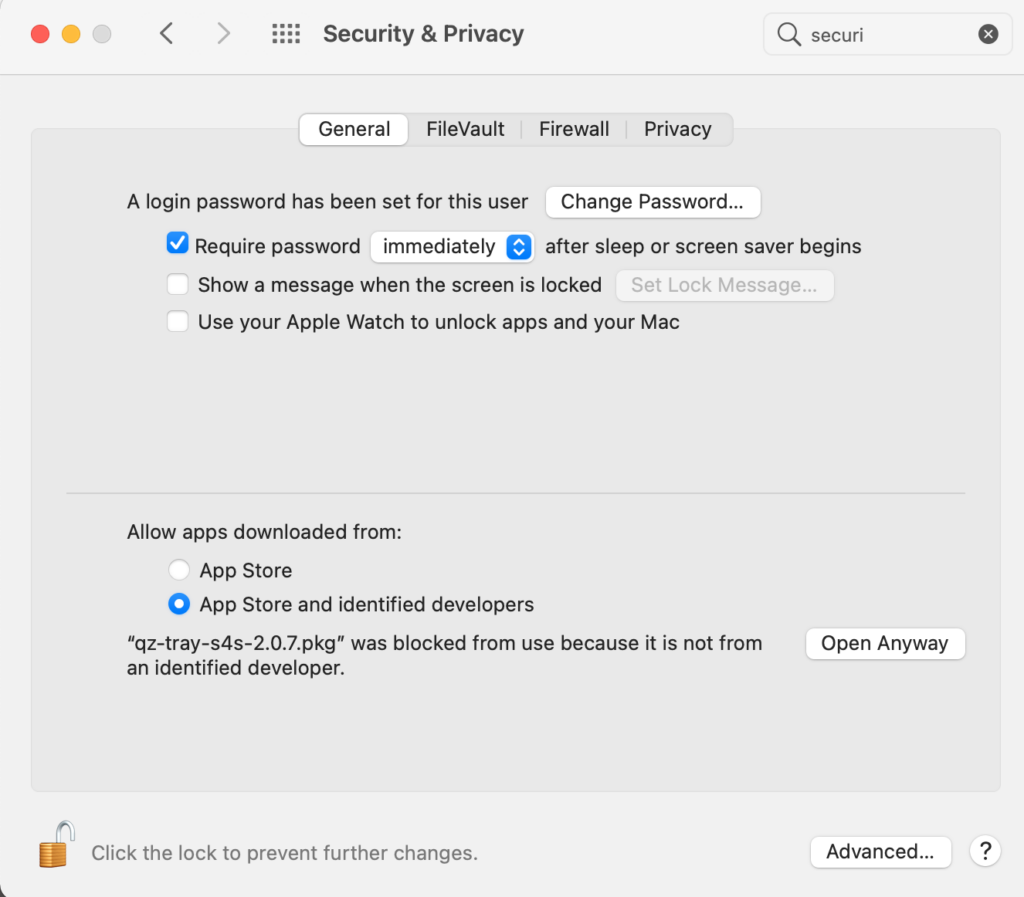
Click Open Anyway and install QZ-tray
System Preferences / Security & Privacy
-
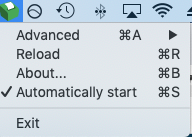
Click the printer icon and set to Automatically Start so the application will always be running on this computer.
You will now see QZ-tray show up on your top bar menu. It is a small green box with a white piece of paper coming out of it.
-
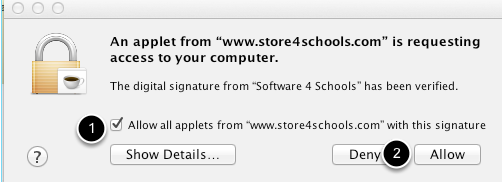
Check the box that says Allow all applets from “www.store4schools.com” with this signature. (Image from FireFox, may look different on other browsers).
-
Click Allow. You should now be able to print.
The first time you try to print from the application you will give you a system prompt / popup. It looks different depending on your Mac OS and browser, but when you see this option, make sure you check the box for “Allow all apps”, so you don’t see this warning again.