Welcome to our Knowledge Base
Online Portal Walkthrough
-
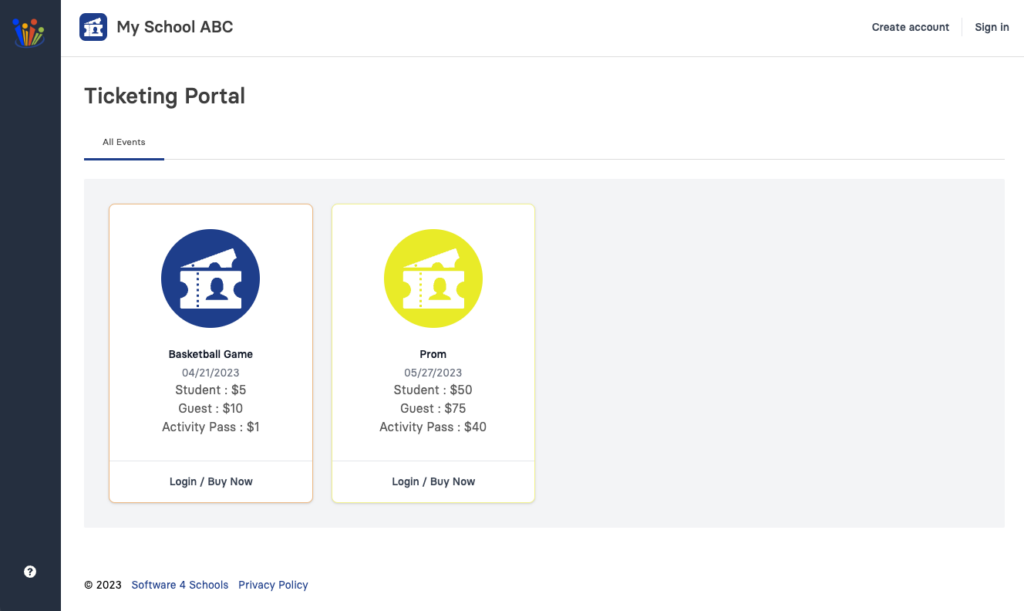
Login / Buy Now – Clicking this button will open up the login or register option (see below)
-
Create Account | Sign In – Alternatively you can click either option here as well.
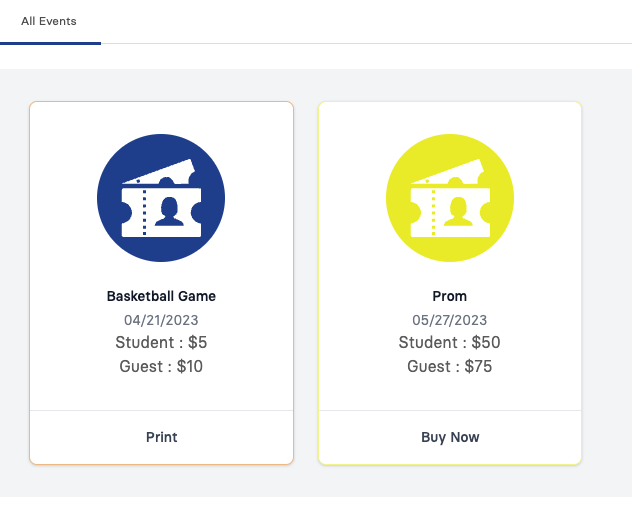
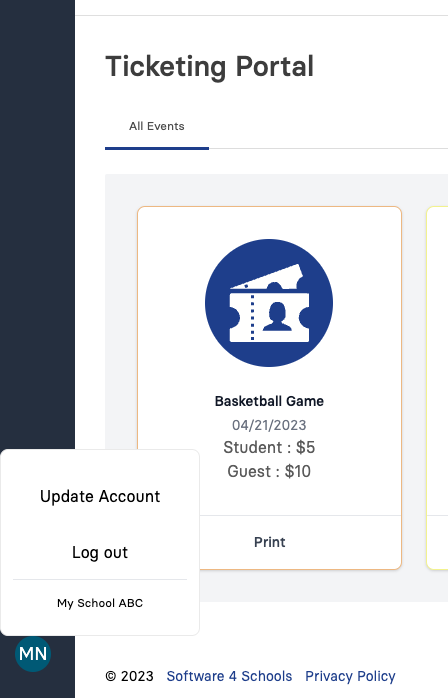
On your schools ticketing portal you will see all events that the school currently has available to purchase online.
-
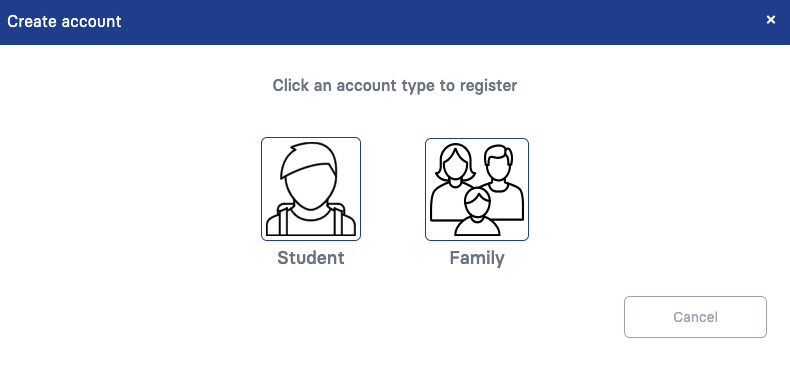
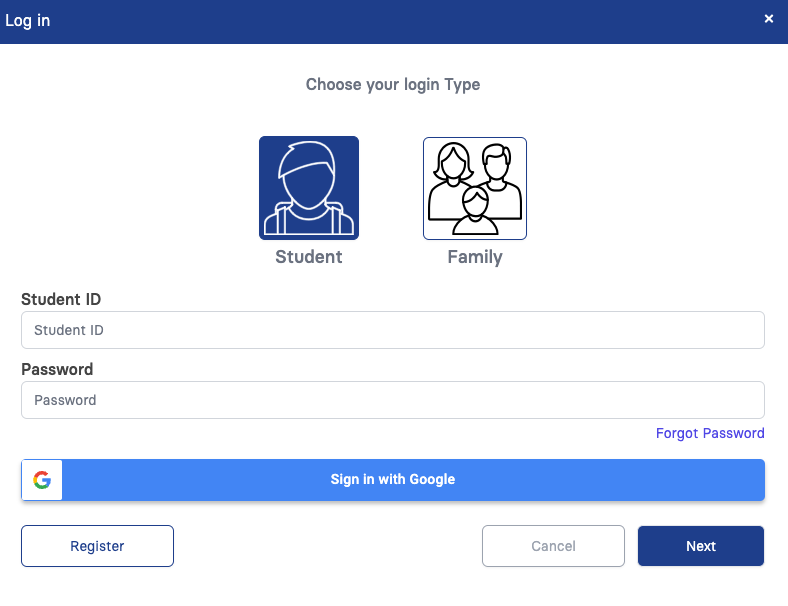
Student – If you are a registered student at the school you can create your account here. Note if your school has Google student email accounts and the feature is turned on, there is no need to create an account, just click login and sign in with Google
-
Family – Use this option to create an account that is linked to one or more students at the school. You will need the First name, Last name and student ID to register each student.
-
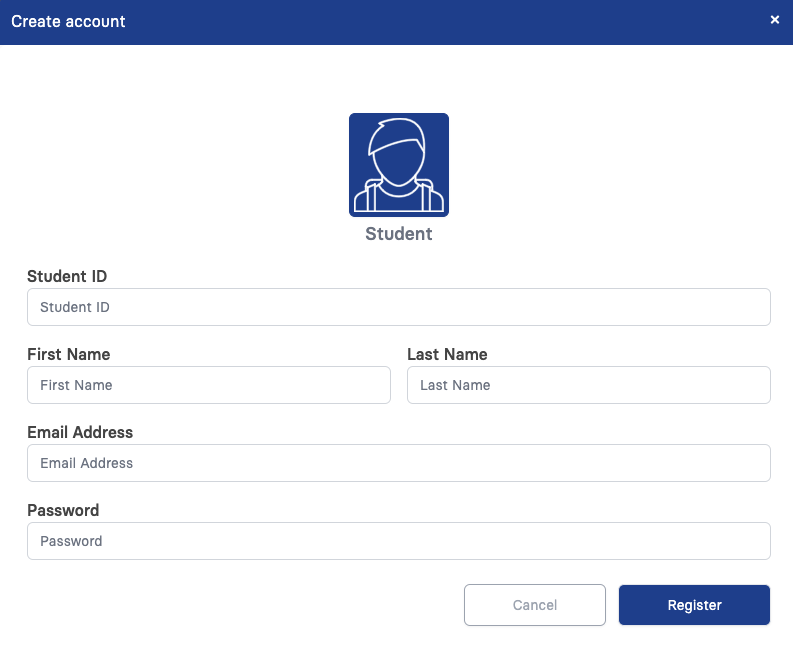
Student ID – This must match what the school has uploaded as your student ID number
-
First Name / Last Name – This must match what the school has uploaded as your first and last name
-
Email / Password – Enter an email address that you wish to get receipts emailed to. Note that often school email address will not receive emails from outside the district.
To create a student account
-
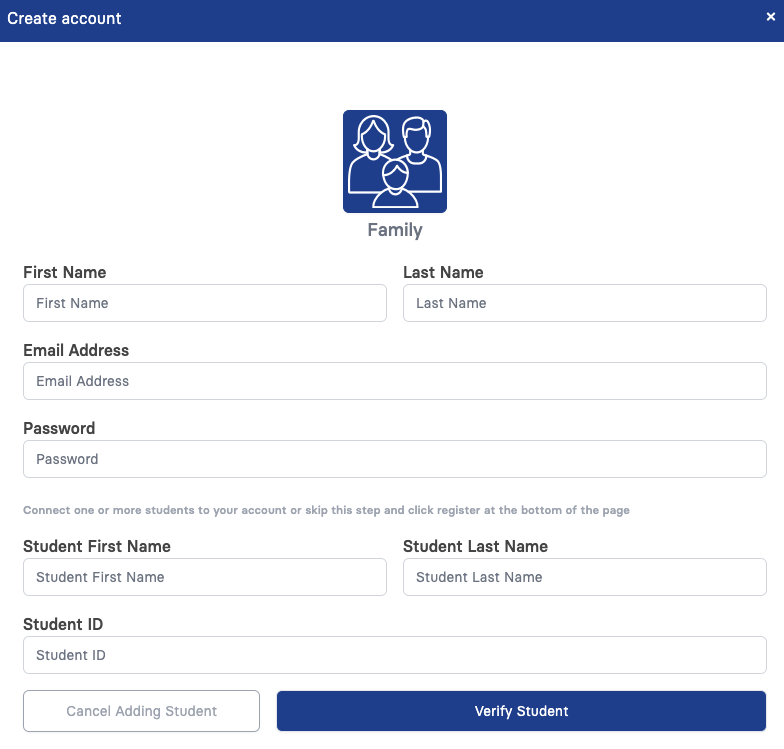
First Name / Last Name – Enter the family member name you are creating the account for (tip – this is going to be your name)
-
Email / Password – Enter the email address you wish to login with and receive receipts at. You will also need to create a password at least 8 characters long
-
Student Details – To connect to one or more students, enter the student name and student ID number as it is registered with the school. Click Verify Student and if adding additional students you can do this process multiple times.
To create a family account
-
Click either the Student or Family icon to choose your login type.
-
Student login will be student ID and password.
Family login will be email and password -
If Sign in with Google is turned on, as a student you can just click this icon to login. Note that you must use your school email.
-
Print – For any events you have purchased a ticket for you can either print the ticket or you can use your student ID card to enter. Guest tickets will be linked to the student ID card so no ticket is necessary to print or you can print a ticket for your guest to enter the event. Please follow school policy as to what you will need to enter the event.
-
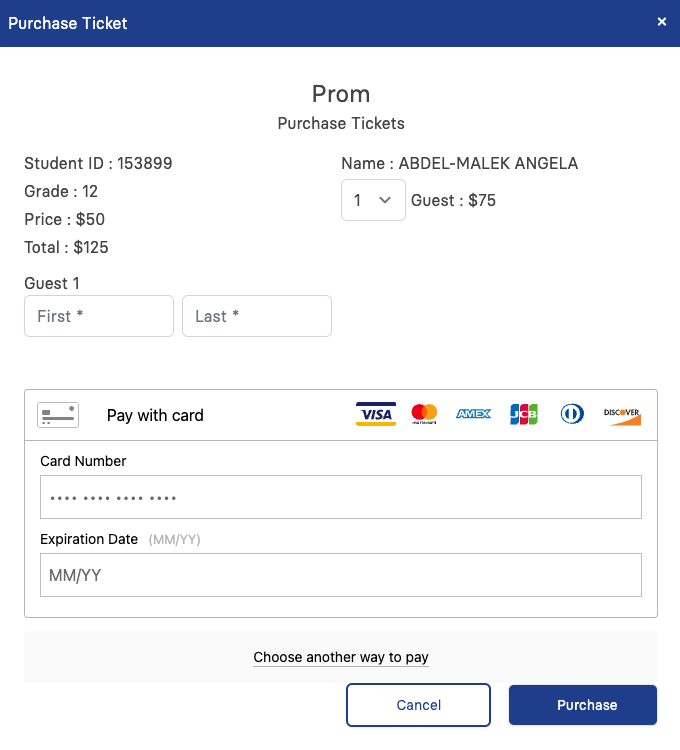
Buy Now – Clicking on Buy Now will allow you to make your purchase (see below)
-
Adding Guests – If your event is allowed to have guest tickets you can select the number of guest tickets you are purchasing here.
-
Guest Name – Enter the name of your guest
-
Payment Type – Choose the payment type and then enter your credit card details.

-
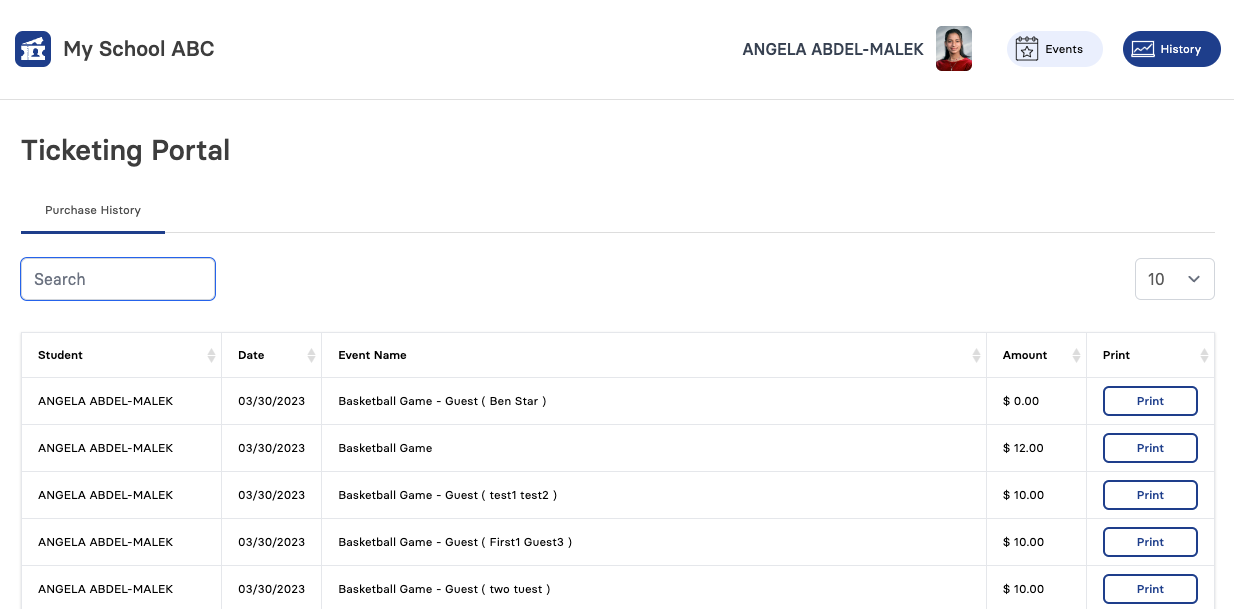
If account is linked to multiple students, you can switch between students to purchase tickets or view their purchase history.
To view previous purchases, click on the History button available at the top bar.
You can use the Search box to filter the history. Option of Print is available in case you need to print the tickets..
-
Click your initials in the bottom left corner to either update your account or Log out.
-
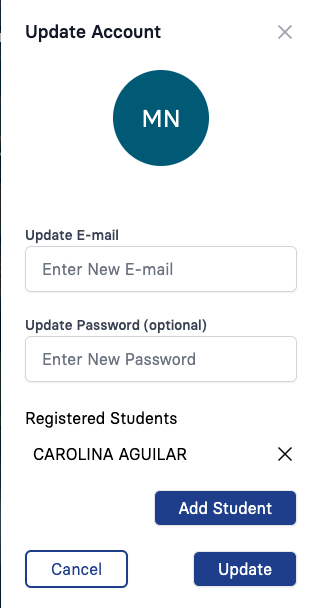
Update E-mail – Enter a new email if you need to update / change it.
Update Password – Only enter a password if you need to update your password. Leaving this blank will keep the current password -
To remove / disconnect a student click the X next to their name
-
Add Student – To connect a new student to your account click the Add Student button then enter the name and student ID number.