Welcome to our Knowledge Base
Preparing for Next School Year
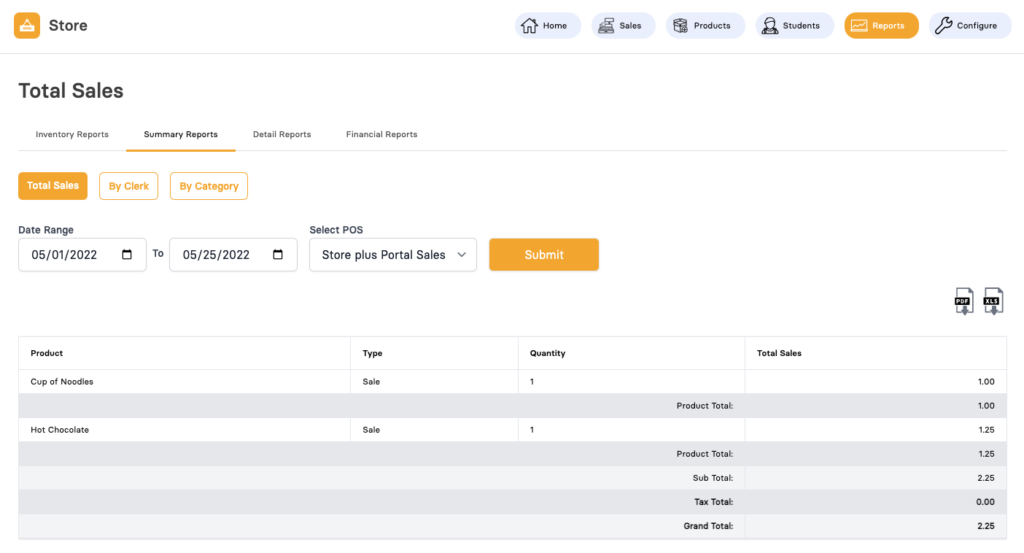
Print Reports or Export Data
We recommend that you export or print out any reports that you might need for any future audits that might come up.
You should run this from the beginning of the school year to the end of the school year which will create a report with every single transaction that happened in the system for that date range. If you run monthly reports you may not need to do this.
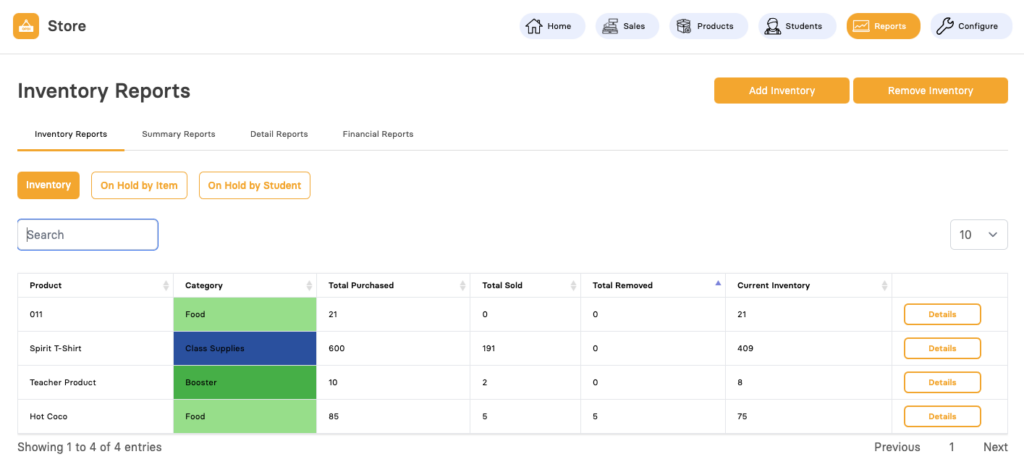
Update your Inventory
This is a good time to also balance out your inventory.
You will want to make sure your physical inventory matches your inventory in the application.
You can use the “Add Inventory” option to add new inventory or the “Remove Inventory” option to balance out and remove any expired inventory from the end of last school year.
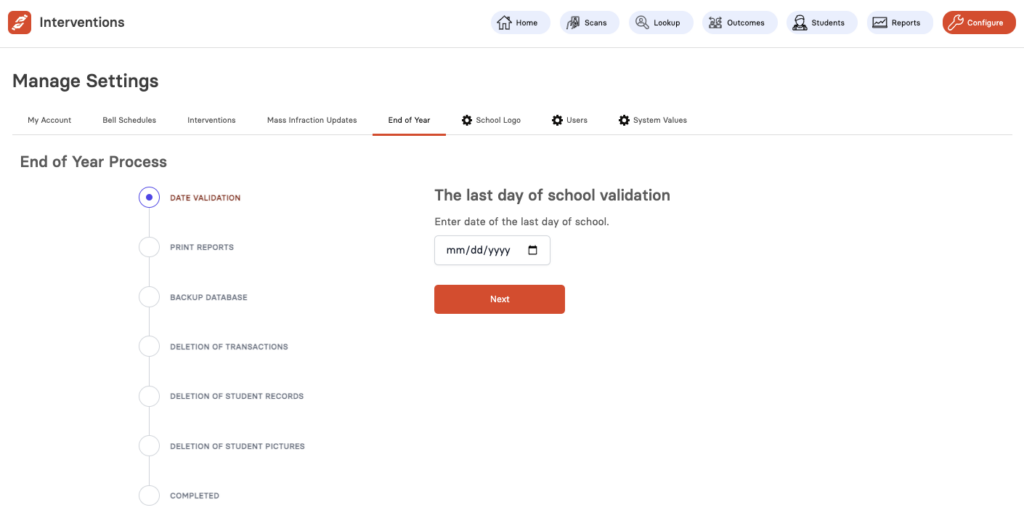
Purge Old Data
To access, click on the Configure button available at the top bar and select the tab for End of Year.

Each step of the routine is explained on the page itself. This routine should not be attempted until after completion of the most recent academic year. That is, when all the students are out for the summer, and there are no scanning for infractions. It should be done before resuming after the summer break, and before uploading a fresh set of student data.
Set the last day of school and click Next button to begin the process.
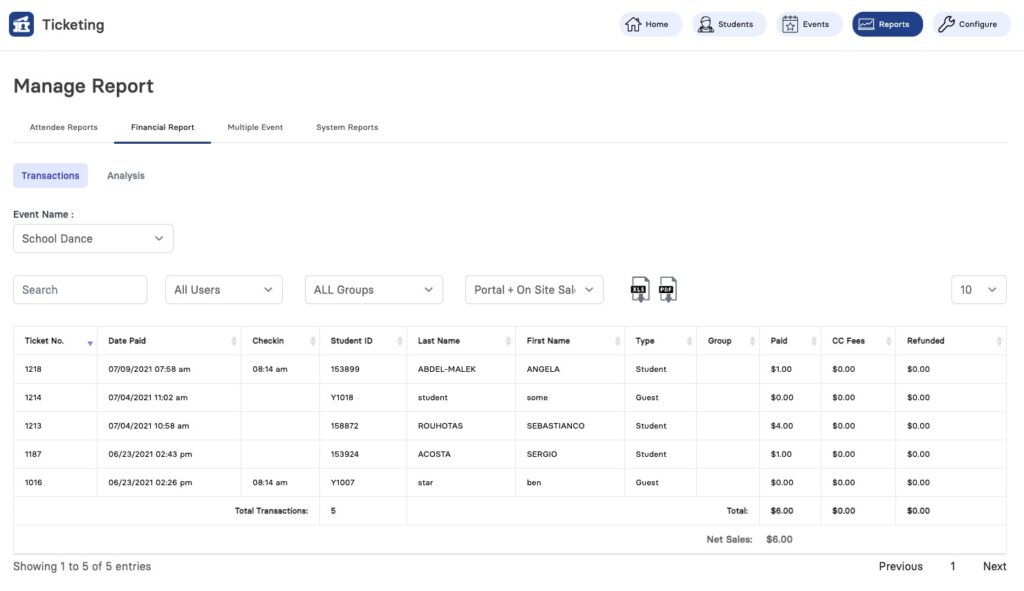
Deactivate old Events
You will want to start by exporting or printing any reports that you might need audits or other purposes. One important report we recommend is the Transactions report. This has every ticket that was sold at an event, who it was sold to and how much it was sold for. To access this report, click on the Reports button available at the top bar and select the tab for Financial Report.
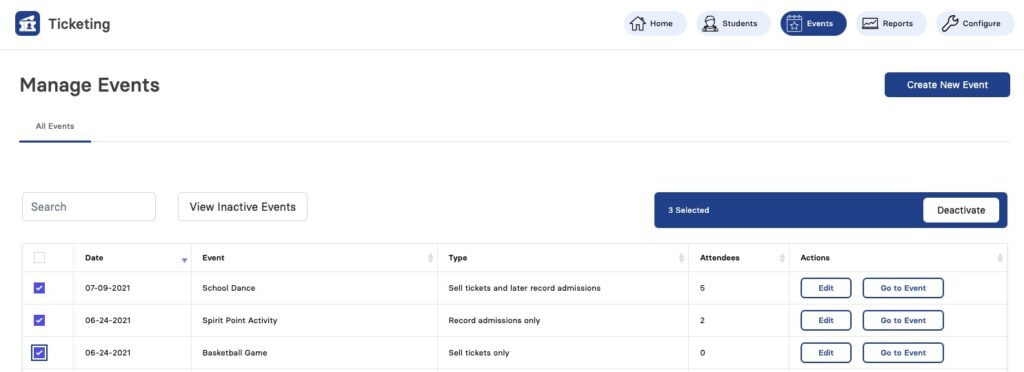
Next we recommend that you deactivate all your prior year events. To do so, click on the Events button at the top bar and select the tab for All Events. Then check the boxes of the old events and click Deactivate. This process just hides them from your events page. To view old events, just click on View Inactive Events and you can always activate them again if you need to access them in the future.
Deactivate old Elections
It is recommended to deactivate all your prior year elections. Click on the Elections button available at the top bar and select the tab for Elections.
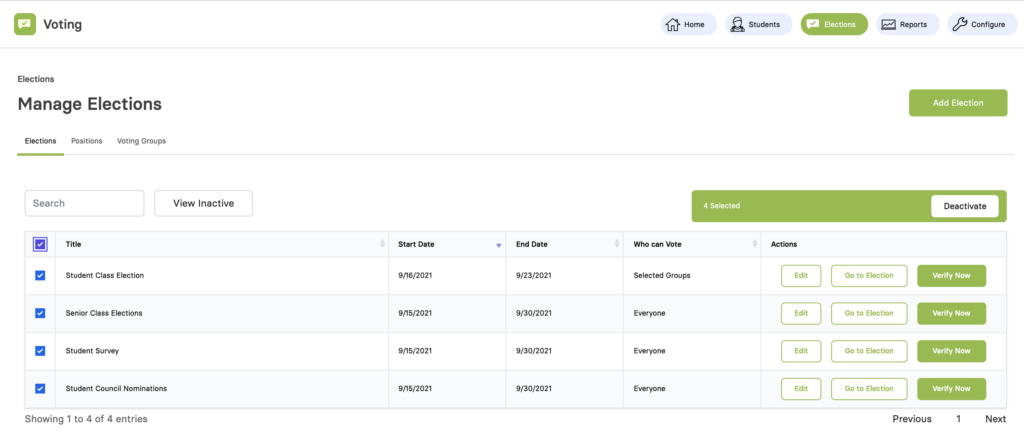
Use the check-boxes to select all elections.
Click on the Deactivate button. Doing this will hide the elections from your main screen. If you need to look at prior year elections you can click on the View Inactive button.
Deactivate old announcements
Some schools like to reuse announcements year after year by changing the date for the announcements to the current year and updating the text. If you plan to reuse announcements, you can skip this step. If you don’t reuse announcements, we suggest that you do the following.
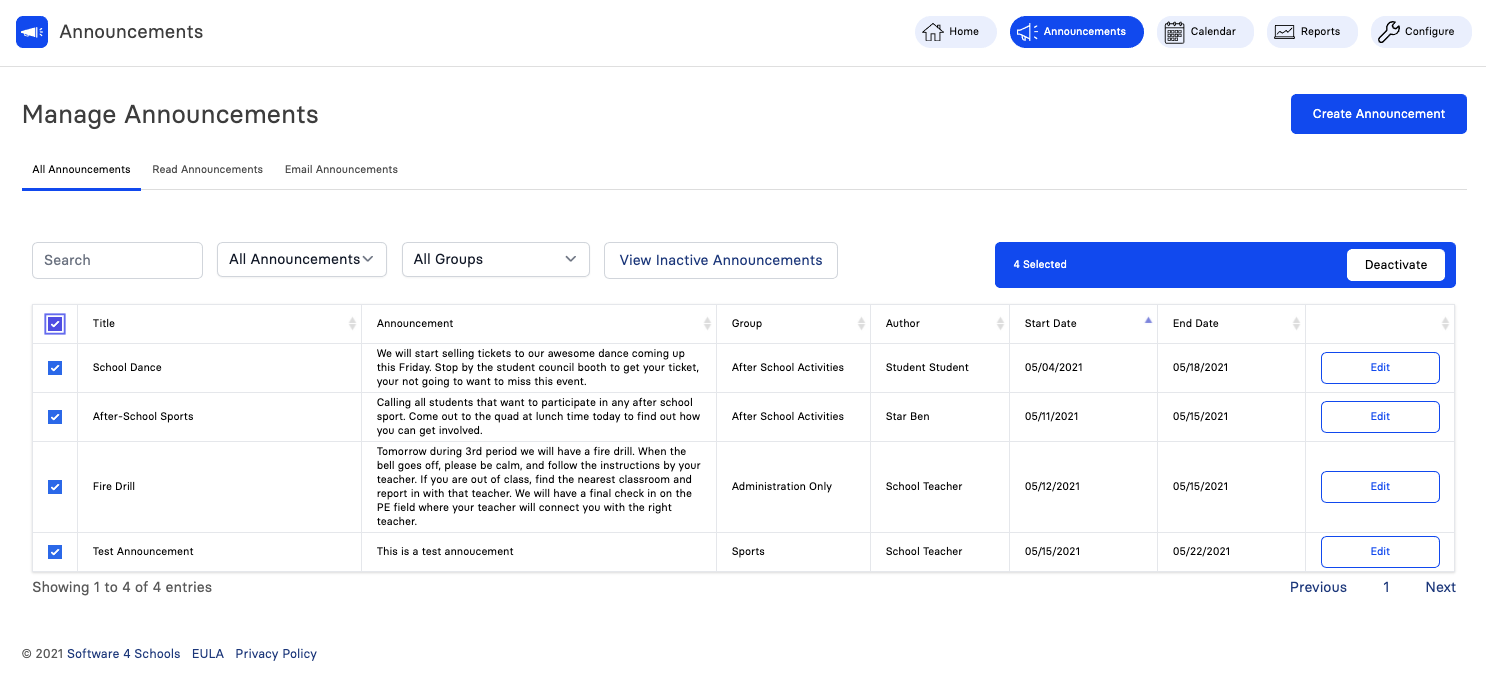 Manage Announcements[/caption]
Click on the Announcements button available at the top bar. Now, select the All Announcements tab.
To ensure all announcements are visible, select the filter for All Announcements.
Check all the announcements on the page using the checkboxes.
Click on the Deactivate button to put all of the announcements into an inactive status.
Because announcements are date driven, leaving them active will not do any harm.
-
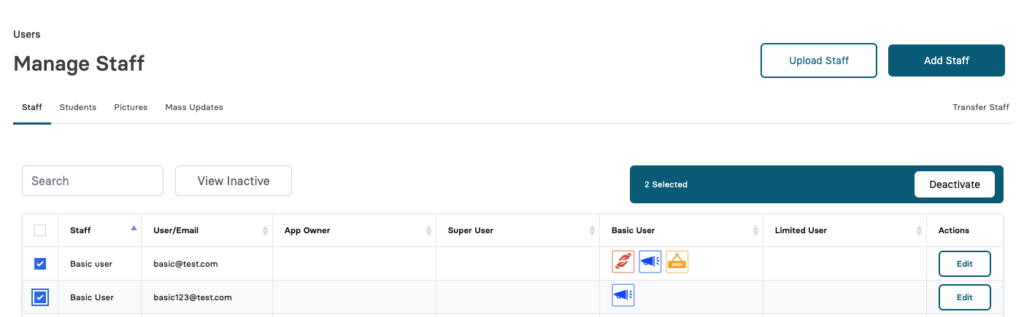
Click Edit to change access for a user or check the box of one or more users to Deactivate them.
-
Click Deactivate to disable a user account
-
Add Staff to create new staff members and grant application access (Learn more about User Accounts)
Go into System / Users / Staff to update any staff members
-
Click Users
-
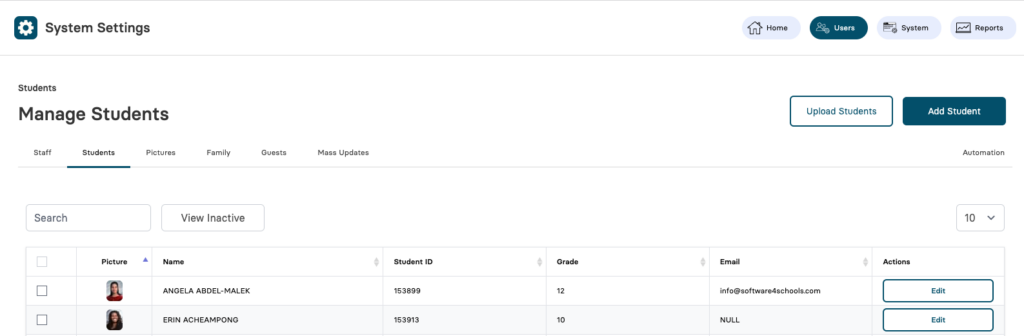
Click Students
-
Click Upload Students
The process of uploading students does multiple actions in one step. The upload will disable students that are no longer at your school, update returning students and load new students. This can be automated from your school districts SIS if you choose to automate this process. If not you can manually upload your students.
If you just have a single application i.e. (Store, Ticketing, Voting, etc) you can click on the product on the left then configure to see your account expiration date. From this screen you can request a quote or renew your account with a PO / Check / Credit Card. Just follow the prompts on the screen.
If you have multiple products please contact sales@software4schoos.com and we can assist you with your renewal. 